Read more: http://mrbool.com/how-to-insert-a-record-in-mysql-with-php/28621#ixzz47s0C2cqJ
Requirements for techniques:
We will require in this article to create a simple contact page for a website, i.e.
- HTML 5
- CSS 3
- PHP
- MySQL database
- Xampp Server
Requirements for Environment:
It’s up to on you on which application you can work easily, as there are number of applications which are being used to design websites, i.e.
- Notepad
- Notepad Plus Plus
- Adobe Dreamweaver any version
Designing Contact webpage from the scratch step by step:
Let’s we first of all create a contact webpage, we should know about the contact webpage e.g. what the purpose of a contact webpage for websites is? How it should be design and what attribute could be on contact page of any website? How a contact webpage works with MySQL to enter data?
As we daily visit websites and sometimes we use their contact webpages to ask them some queries and questions about something. Which all save in a database and some website owners want to get that data also in their emails. Because they used to check their emails frequently. In this article we will just discuss the connection between MySQL and PHP. That’s why we will design a simple contact webpage.
Listing 1: Contact.html
<!DOCTYPE HTML>
<html>
<head>
<title>Contact Us</title>
<link rel="stylesheet" type="text/css" href="style.css">
</head>
<body>
<div id="contact">
<h3>Contact Us For Any Query</h3>
<form method="POST" action="connectivity.php">
Name <br><input type="text" name="name"><br>
Email <br><input type="text" name="email"><br>
Message <br><textarea rows="10" cols="50" maxlength="100" name="message"></textarea><br>
<input type="submit" value="Send Message">
</form>
</div>
</body>
</html>
Description of contact.html webpage:
I
n the contact.html webpage we used simple tags of HTML 5. We used form tag to create a contact form. In which there are three boxes one is for name, second is for email and the last one is for message box. In the message box we used textarea tag to get data from the user. When these three all boxes will get data from the user and then user should press the Send Message button to send the data to the connectivity.php file. Where we will insert data using insert query to the database. The length of the message box is just 100 characters with space and it will take just 10 rows and 50 columns from the user as text. In the form tag we used method as POST and action as the file name which is connectivity.php.
Using CSS3 on the contact.html page:
Now we will create a new file and name it style.css. As you can see in Listing 1 there is a div tag with its id name “contact”. So will use the id name in the CSS3 file to use styles on the specific area of the contact.html webpage.
Listing 2: link CSS3 file to contact.html webpage
<head>
<title>Contact Us</title>
<link rel="stylesheet" type="text/css" href="style.css">
</head>
Description of link CSS3 File:
As you can see there is a tag which is link. By using this tag we linked the external CSS3 file to the contact.html file. And when we browse this file so the style.css will apply the all styles on the div tag area of the webpage. And we used this link tag in the head tag to get all styles link to the div tag in the body tag. And commonly if you want to link any external file like JavaScript and CSS3 files to your webpages so you should link them using link tag at the head tag area.
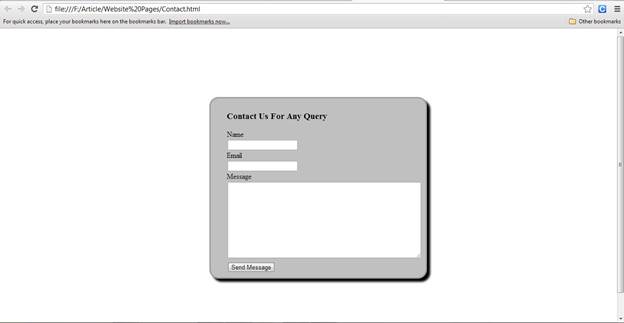
Figure 1: contact.html webpage with applied CSS3 Styles
Listing 3: style.css
#contact{
margin-top:150px;
margin-bottom:150px;
margin-right:150px;
margin-left:450px;
border:3px solid #a1a1a1;
padding:9px 35px;
background:#C0C0C0;
width:400px;
border-radius:20px;
box-shadow: 7px 7px 6px;
}
Description of style.css file:
In the style.css file we used seven type of styles on the div tag name contact. The styles are margin, border, padding, background, width, border-radius, and box-shadow. In margin we used the areas or you can say it the four corner sides of the webpage. As they are margin-top, margin-right, margin-left, and margin-bottom. By which the contact form is looking at the middle of the webpage. And we used border style to give it a border with color. After border we used padding style to give a padding space in the contents of the form. Then we used width style to give it a specific width. For radius corners we used border-radius style on the div tag name. And for more attraction we used shadow style as box-shadow.
Creation of database and table:
Now we will create a database and we will name it for this article as a practice and create a table and name it as contact. In contact table there will be four attributes contactID, contactName, contactEmail, and message.
Listing 4: Database
CREATE DATABASE practice;
USE practice;
Listing 5: Table
CREATE TABLE contact
(
contactID INT(9) NOT NULL auto_increment,
contactName VARCHAR(40) NOT NULL,
contactEmail VARCHAR(40) NOT NULL,
message VARCHAR(250) NOT NULL,
PRIMARY KEY(contactID)
);
Description of Database and Table Listings:
For the creation of the database we use a query which create database and for the creating of table we used create table query. In table query we used variables to store data and the contactID is the primary key of the table. We should keep one thing in our minds the primary key is most important thing for a table. Don’t forget to use primary key. It is must to use it in every table.
Creating connection between MySQL and PHP:
So the time comes to create a connection, to connect the practice database and insert the data to the contact table from the contact.html webpage. So let’s write the initial PHP programming to connect the database using localhost. If you want to learn about Xampp windows server so follow my previous written article about it: http://mrbool.com/how-to-install-xampp-server-in-windows/28257
In this article you will learn about the Xampp server, which is so important to learn about it.
Listing 6: Connectivity.php connecting with database
<?php
define('DB_HOST', 'localhost');
define('DB_NAME', 'practice');
define('DB_USER','root');
define('DB_PASSWORD','');

$con=mysql_connect(DB_HOST,DB_USER,DB_PASSWORD) or die("Failed to connect to MySQL: " . mysql_error());
$db=mysql_select_db(DB_NAME,$con) or die("Failed to connect to MySQL: " . mysql_error());
?>
Description of connectivity.php
As we can see the Listing 5 there is the PHP programming code by which we are connecting with database using localhost. As I defined the constant variables DB_HOST, DB_NAME, DB_USER, DB_PASSWORD and then I used a variable $con which is for connection of database. And $db is used for the database let we now write the inserting data query in PHP programming. By which when the user will input the data to the contact.html so that data will be inserted to the database.
Listing 7: Connectivity.php connecting and inserting Record to database
<?php
//connecting to the database
define('DB_HOST', 'localhost');
define('DB_NAME', 'practice');
define('DB_USER','root');
define('DB_PASSWORD','');

$con=mysql_connect(DB_HOST,DB_USER,DB_PASSWORD) or die("Failed to connect to MySQL: " . mysql_error());
$db=mysql_select_db(DB_NAME,$con) or die("Failed to connect to MySQL: " . mysql_error());
//inserting Record to the database
$name = $_POST['name'];
$email = $_POST['email'];
$message =  $_POST['message'];

$query = "INSERT INTO contact(contactName,contactEmail,message)VALUES('$name','$email','$message')";
$result = mysql_query($query);
if($result)
	{
	    echo "Successfully updated database";
	}
	else
	{
	 die('Error: '.mysql_error($con));
	}
	mysql_close($con);
?>
Description of inserting Record to the database:
As we can see it in the Listing 7, we used 5 variables first three variables are those which are getting the data when the user enter data to the contact.html form and press Send Message button, so the data will be come to this connectivity.php file and store in $name, $email, and $message variables. After these three variables there are two more variables $query and $result. We used Insert query to assign it to $query variable after this we used a method or built-in function mysql_query() to insert the Record to the database and we assigned it to the $result variable. In last line we mysql_close() method to close the connection which we create in this article.
So now let’s we try to use the contact.html webpage to insert Record.
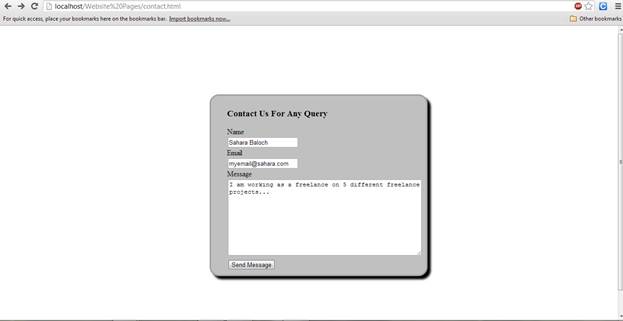
Figure 2 : Inserting Data in the form and press Send Message button
So it’s successfully inserted in the database, that’s great.
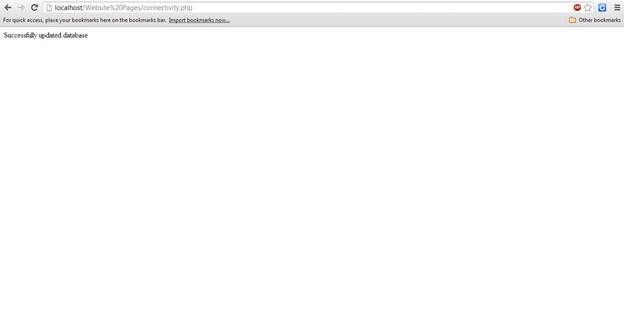
Figure 3: Showing Successfully Updated Database
So let we check the table which name is contact from the database practice.
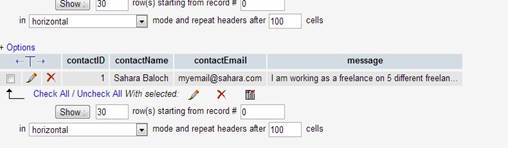
Figure 4: Database table contact is updated successfully with one row
Read more: http://mrbool.com/how-to-insert-a-record-in-mysql-with-php/28621#ixzz47s083FSk